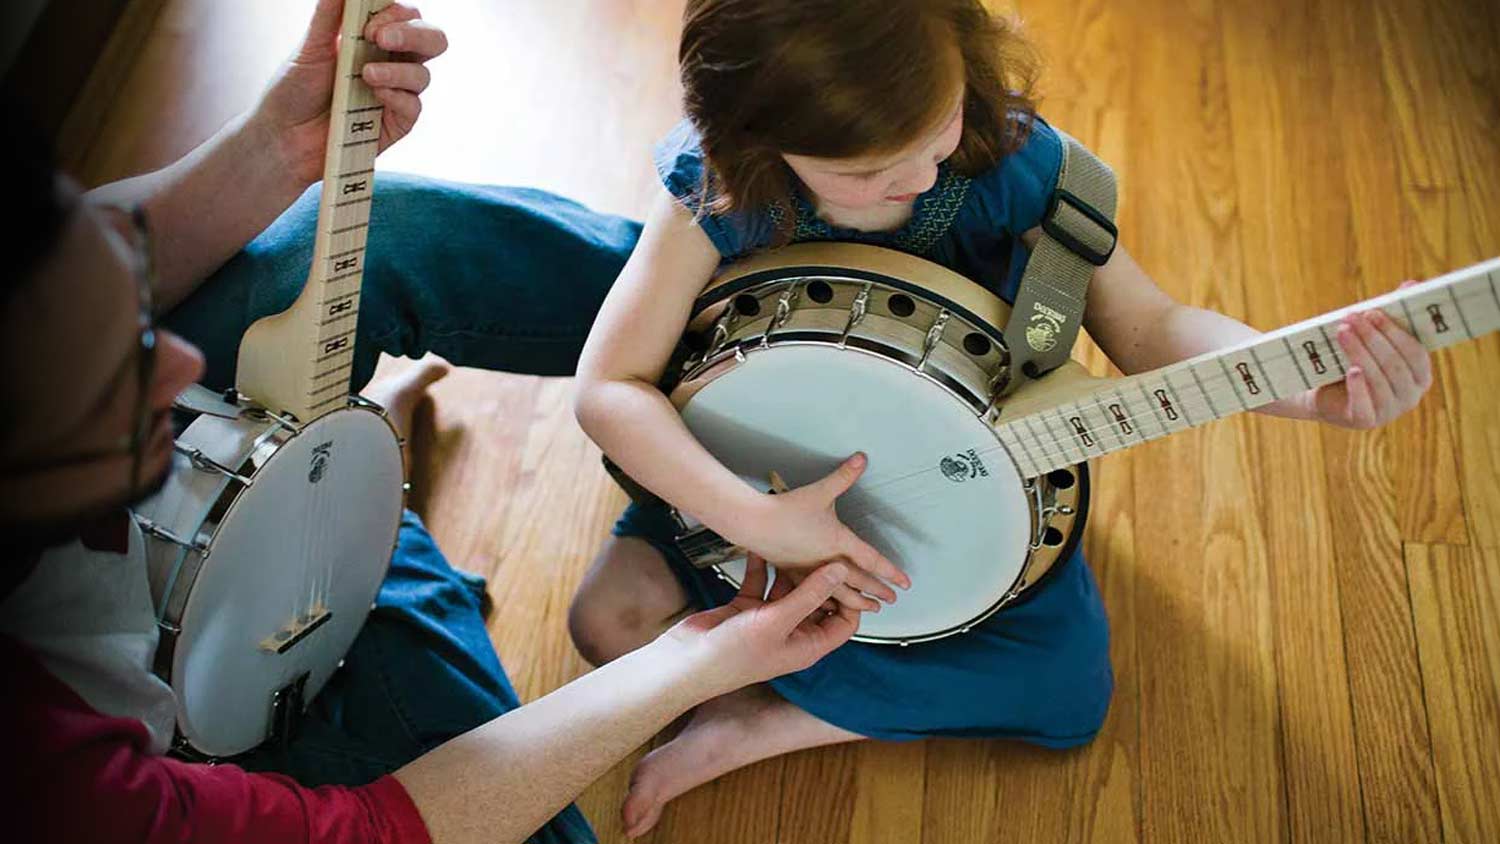


Banjo Anatomy 101
View our dynamic banjo anatomy page here:
When I give tours here at the factory, I ask our visitors to think of the banjo as a “giant lollipop” because many of them are not banjo players…but we have all eaten our fair share of lollipops.
The neck of the banjo is the “stick” of a lollipop and the pot assembly is the “round, candy portion.” This is not meant to explain FUNCTION, just help with orientation. And like a lollipop, fun with a banjo will last all the way down to the last “lick.” This week’s article is meant to help orient and identify, not explain the function, of the parts of the banjo to make past and future articles more easily understood.
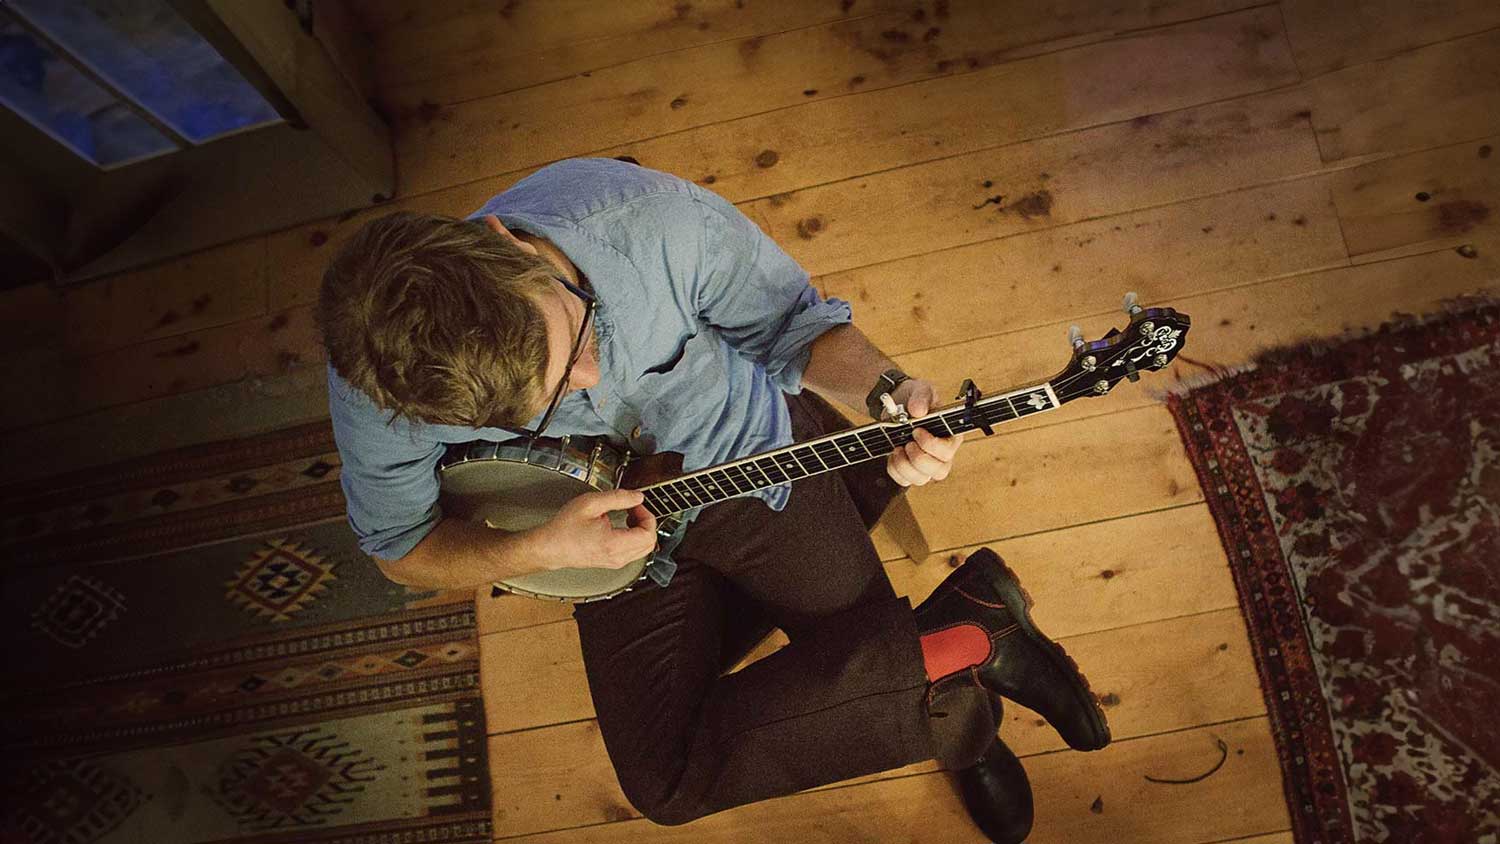
THE NECK:
The thought of “starting at the top” is always tempting! So let us give in to that today and start our banjo anatomy lesson with the banjo neck. The banjo neck begins with a “neck blank” made of the main tonal wood of which the banjo is constructed. Here at Deering it can be made of maple, mahogany, or walnut. In an upper line Deering banjo, it is a one piece neck blank of whichever tonal wood is specific to that model. In the Goodtime line, it is composed of 3 pieces of maple; the peghead, the heel, and the main body of the neck. Necks can have binding on the sides of them, binding on the peghead, and all sorts of decorative “purfling” along the sides of the neck as well. We will not be covering these kinds of customized embellishments here. We will be breaking it down to, as usual, “the basics”!
(NOTE: Neck blanks of upper line instruments are one piece of tonal wood. The neck blank of a Goodtime banjo is 3 pieces of maple glued together to form the same configuration.)
We can think of the neck as falling into three 3 sections.
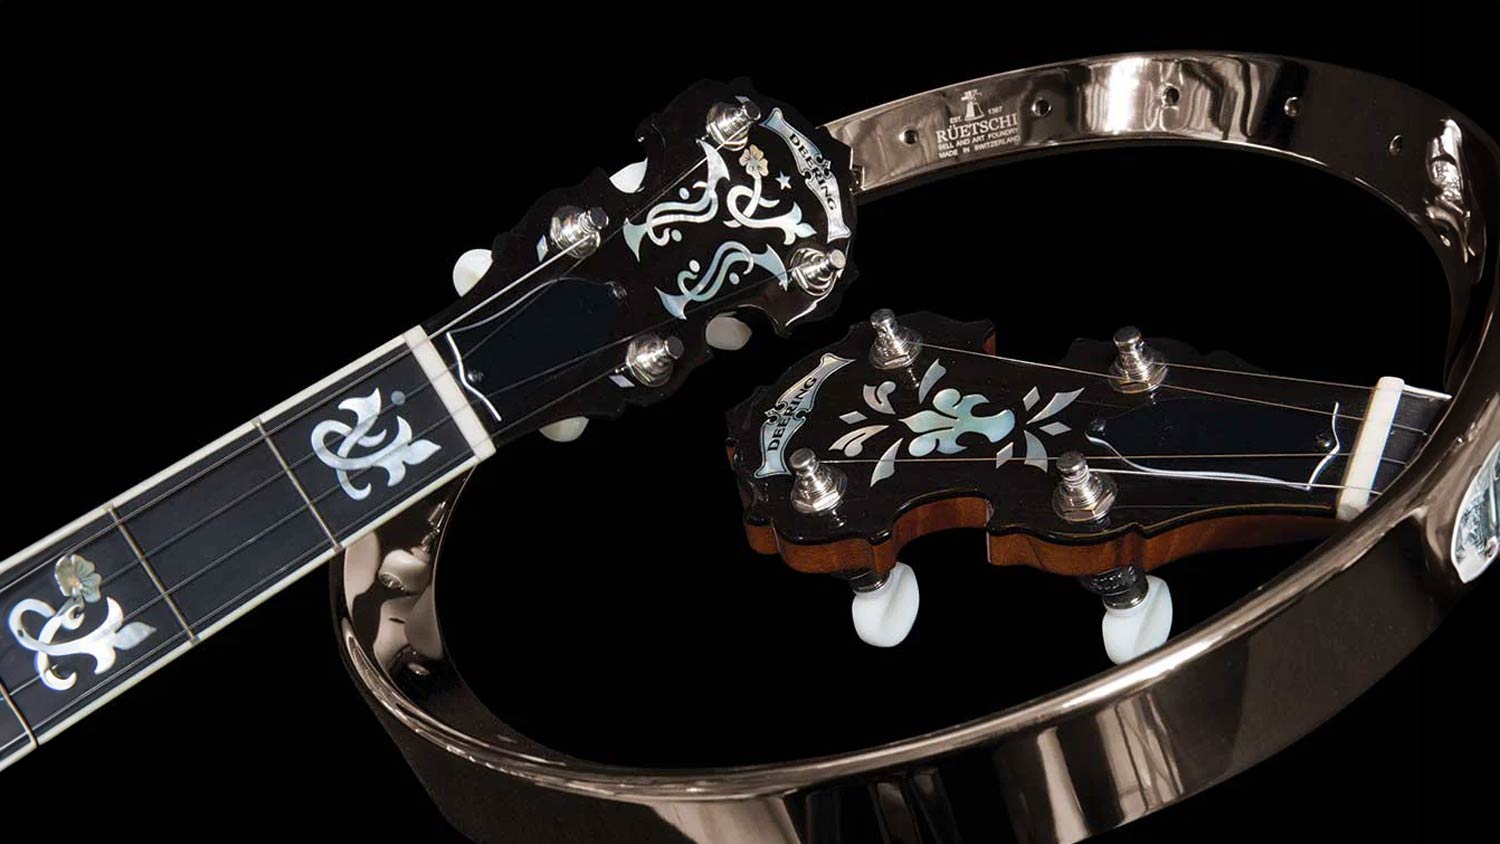
SECTION #1: THE PEGHEAD (Also commonly known as the head stock of the banjo.)
The very top, where the banjo tuners are located, is called the “peghead”….because banjos tuners/tuning machines are sometimes called “tuning pegs” and it’s at the “anatomical” top of the neck…hence “head.” The back of the peghead is one with the neck “blank” and as such consistent with the tonal wood that the banjo is going to be made of. The peghead itself is composed of various parts.
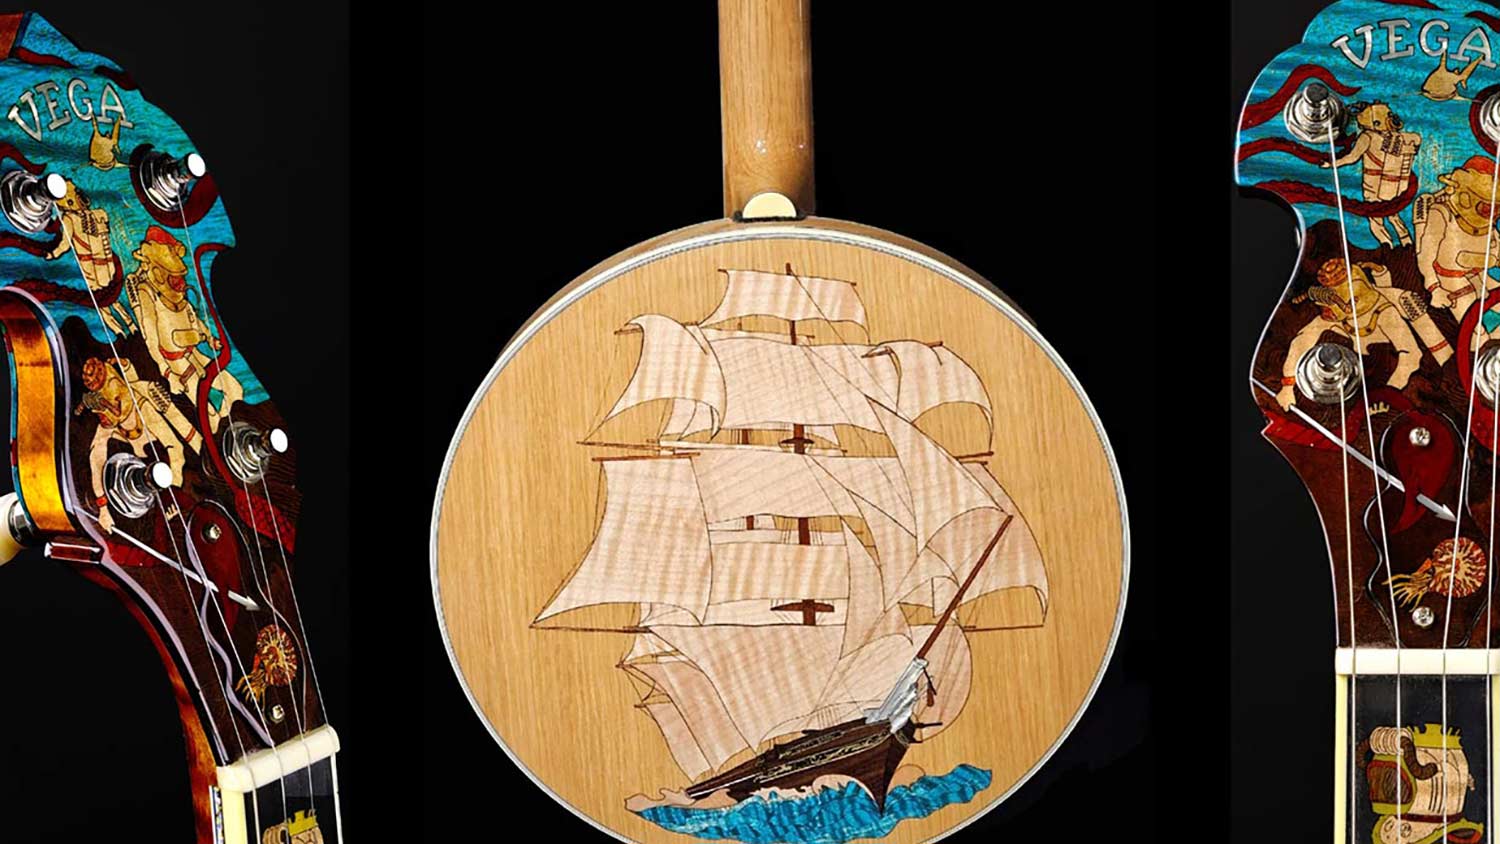
1. The front of the peghead has a PEGHEAD OVERLAY which can be made of ebony, or some other material. In the Goodtime line, there is no peghead overlay. The peghead design is put right into the maple. The peghead overlay can be decorated with a design which is usually meant to blend with the fingerboard design.
2. TRUSS ROD COVER: This is a small piece that is usually made of plastic but can be pearl or some other material and covers the truss rod nut which is used to adjust the truss rod which runs under the fingerboard down the length of the neck. It is held in place by two small screws. Truss rod covers can be different shapes and lengths, depending on the manufacturer so “one size does not fit all.” This is a nice place to personalize your banjo with a special name, date, short phrase, etc. that is not permanent. You can remove your “special” truss rod cover and put a plain one on if you want to sell the banjo.
Check out a truss rod cover here...
3. NUT: At the base of the peghead before you reach the fingerboard is a small piece of plastic, wood or bone. There are slots cut into this section for the strings to sit in before they head on towards the fingerboard in their journey to the tailpiece. This is called “the nut”…and I mentioned it in our last article on The Banjo Bridge. The angle of the nut slot is quite critical and any binding in this slot can oftentimes be taken care of by putting some #2 pencil lead in the slot and moving the string back and forth to lubricate the area.
SECTION #2 THE “BODY” OR PLAYING AREA: This is what you would think of as the largest section of the neck. This is the section where you find the fingerboard and truss rod and at the base of which you find the heel of the banjo.
A. TRUSS ROD: This is a long rod that runs from the base of the peghead (accessed through the removal of the truss rod cover) down the length of the neck to the heel; underneath the fingerboard. This gives the neck stability and also allows the player to adjust the “relief” of the neck. Banjo necks aren’t actually flat, though it may appear so. They actually have a very gentle bow (or Mona Lisa smile as I like to call it). This allows you to play without having buzzing occur when you fret the strings.
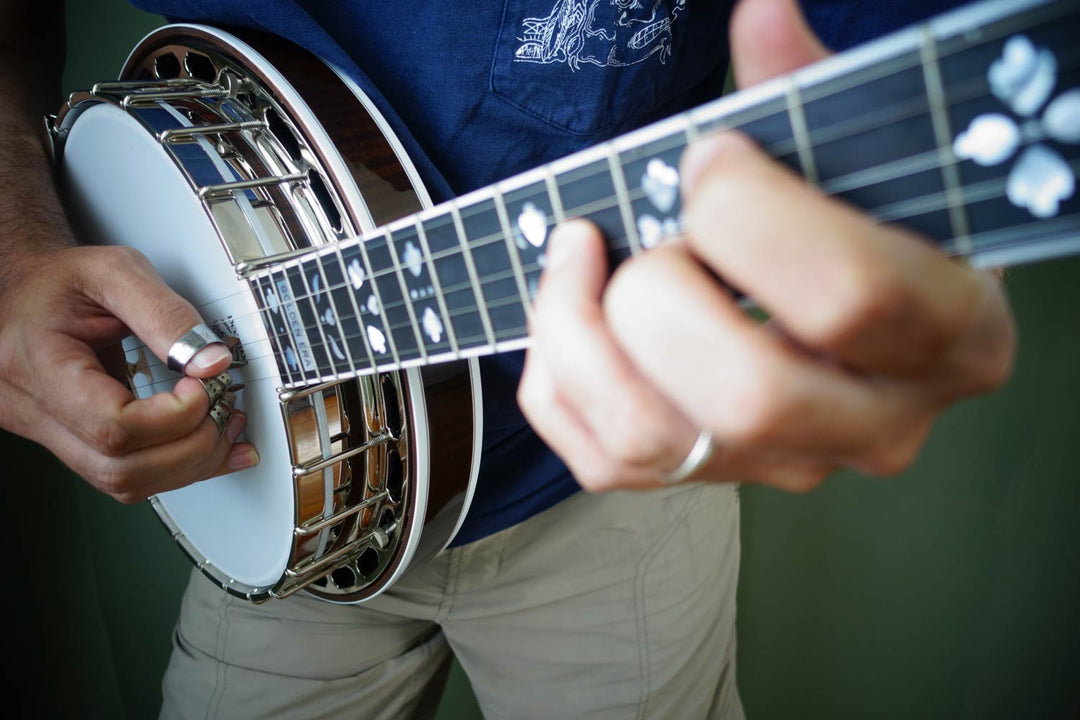
- FINGERBOARD: This is made of ebony on upper line Deering banjos and maple on the Goodtime line of banjos. . This is where we all spend endless frustrating hours trying to get our fingers in the right place to make music on the banjo!
- The inlays are installed into the fingerboard of the banjos as both position markers and decoration.
- Frets are the metal pieces on the fingerboard; usually made of nickel silver. These frets are placed at very SPECIFIC distances to define the musical scale of your banjo. If they are not correctly placed, all your efforts to make beautiful music on your banjo will be less than successful. There can be anywhere from 17-25 frets on a Deering banjo.
- Strings run the length of the fingerboard and are connected from the peghead tuners, over the bridge, and to the tailpiece. These are commonly made of steel but can be nylon or gut or some other metals as well.
- Spikes are actually model railroad spikes used to hold the fifth string
in place for proper tuning. There is one at the fifth string tuning peg position to hold the string in place and you can have more of them for alternate tunings as well; usually at 7,9,10 for A, B, and C tuning. On the traditional pre-war style banjos, there is a small, round bone “nut” that cradles the 5th string at the 5th fret position. Though the intonation is more exact when using a spike at this position, traditionalists enjoy the bone nut on their pre-war banjos and we do use this method on our Golden Era series banjos. Some folks like to use a sliding Shubb capo for alternate tunings. This is a rail attached to the side of neck with a little arm/screw that slides on the rail so that it can be held in place.
SECTION 3: HEEL: This is visible from the back side of the neck.
- HANGER BOLTS:
There are two very long screws that are installed in the heel of the neck to attach it to the pot/rim of the banjo. It is important that these are “snug” against the rim so that you get good sound transmittance. These can sometimes inadvertently be loosened when doing an “action adjustment” and it is a good thing to check their tightness if you notice some loss in sound after adjusting the action on your banjo.
-
HEEL CUT: This is a critical part of the heel. There is a specific angle to the heel cut that is made to accommodate the height of your banjo bridge. It is cut so that you get good connection between the rim and the heel itself when your action is set at the proper height for your bridge. Most banjos use a 5/8” bridge. You can use other heights but if you heel cut is set for 5/8”, you may run into issues setting the distance between the string and the fret (called “action”) for comfortable play. Your heel cut is also made to accommodate your flange if you have a resonator banjo. This can be a flat cut or a cut with grooves in it to accommodate the type of flange construction.
THE POT ASSEMBLY: This is “the lollipop” portion I mentioned above and the parts are more easily visible.
- BANO RIM: This is the foundational, round, wooden section of the pot assembly upon which all the other parts are fit. We have Boston model banjos whose rim is made of 3/16” of steel as well. Whether you have a Goodtime banjo or an upper line Deering model, the rim is a 3-ply violin maple rim made here at the factory. The wood that the rim is made of is important. If it is too stiff, it can, along with too tight a fit of the other parts, stifle the sound of the tonal (sound producing elements) of the banjo. Our new rim has opened up the sound of our banjos so that we have a fuller, richer sound with greater note distinction because the tone ring can vibrate more easily.
- CO-ORDINATOR RODS: These are made of steel and are found on the inside of the rim. They are meant to give stability to the wooden rim and can also be used to set the action (the distance between the top of the fret and the bottom of the string) of the banjo neck. There are two in the upper line Deering banjos and one in the Goodtime and Boston banjos.
- TONE RING: We have 12 DIFFERENT tone rings here at Deering…I know, I counted them all the other day!! Each has their own, distinctive sound that it contributes to the overall effect of the banjo. Read about the various tone rings here and know that we have not updated that with our latest and greatest 2010 tone ring yet! The tone ring sits above the rim and beneath the banjo head. It will add more volume, sustain, and dimension to your banjo. The depth, power, and overall tonal range of the tone ring will depend on the material from which it is made.
- BANJO HEAD: This is usually made of mylar (though there are banjo players who use skin heads). When you pluck/strum on your banjo strings, the bridge vibrates and in turn causes the banjo head to vibrate. This, in turn, causes the tone ring and rim to vibrate, producing sound. We have several different heads you can try and each of them will contribute to the sound of your banjo in a different way, depending on the thickness of the mylar. Read http://www.deeringbanjos.com/deering-banjo-head-comparison to see what kind of voice you will get if you use the various possibilities. CROWN HEIGHT is the vertical distance from the top of the heads mounting band to the top surface of the head. The correct crown height ensures that the banjo’s tension hoop will neither pull down too far, nor be so high as to impede the strings. We carry high and medium crown heads here at the factory. High crown is ½” and medium is 7/16”. All Goodtime banjos use high crown heads. Deering/Vega models made prior to 2006, will use high crown. Tenbrooks banjos use medium. Deering/Vega/Boston models after 2010 use medium crown. WHEN IN DOUBT, CALL US!
- BANJO BRIDGE: This can be of various heights but should be consistent with the heel cut on on your banjo. The standard is usually 5/8”. Read an extensive article on banjo bridges here...
- TENSION HOOP: This goes all around the banjo head. It is usually made of metal; our notched tension hoop is made of brass and our beveled and Goodtime hoops are made of steel. The function of this ring of metal is to hold the head in proper tension. That tension is adjustable and though between G and G# is recommended for most players, it can be tighter or looser depending on what sound you wish to achieve.
- HOOKS AND NUTS: There are anywhere from 16-24 hooks around the rim of the tension hoop.The function of the hooks is to hold the tension hoop in place. The hex nuts beneath the hooks are what secure them to the hoop. These hooks can go directly through holes in the flange in the case of the one-piece zinc flange or through rim hardware called “shoes” (they look like little elf shoes and are attached to the rim by screws) before you attach the hex nuts for proper tension.
- FLANGE: We have various kinds of flanges for our banjos. The function of the flange is to attach the resonator.
- One piece zinc flange—Used on the majority of the Deering upper line banjos. The hooks go directly through the flange which is held in place by a lip that is constructed into the wooden rim.
- 24-piece flange system—Used on many of our banjos but most prominently seen on our Boston banjos. Used in conjunction with shoes on the rim to hold the resonator in place.
- 2-piece Goodtime flange—Used in conjunction with the shoes on the rim with a circular design.
- 2-piece Eagle II flange— This has a beautiful bow-shaped design around the flange and is used in conjunction with shoes on the rim to attach the resonator.
- Tube flange—this is used on openback banjos and on banjos with our pop-on resonator option.
9. ARMREST: This sits over the banjo tension hoop and is meant for playing comfort. It is made of steel and usually plated in nickel or chrome or gold. They can be made of wood as well.
10. TAILPIECE: The function of the tailpiece is to hold the strings in tension. With an adjustable tailpiece you can also change the amount of pressure on the front edge. This change in tension will alter the sound of the banjo. More front pressure will give the banjo a sharper tone. Standard height off the head is about ¼”. At Deering, our tailpiece is made of a special steel alloy that will not “ring” to give unwanted vibration overtones to your banjo. Early tailpieces were made of brass which is a tonal metal…vibrating and making noises where they are not wanted.
11. RESONATOR: This acts as a sounding board, to project the sound of your pot assembly forward. It makes the banjo louder. It is held in place by 4 wall lugs on the interior walls that are attached to the flange by 4 thumb screws. In the Goodtime line, there are 4 Phillips screws that go through the flange to attach the resonator. OPENBACK banjos do not have resonators.
IN CONCLUSION:
Click here to see a schematic drawing of the banjo so you can understand where these parts fit on the banjo itself. By learning what the parts are called and where they fit in the overall scheme of the instrument, you can better utilize the information we have sent out and our maintenance manual to create the sound YOU want to hear from your Deering banjo! Let me know how it goes. It’s always a pleasure to read your responses to our email articles.


https://www.deeringbanjos.com/blogs/banjo-buying-tips/10368985-banjo-anatomy-101
is “bano rim” a typo?
THE POT ASSEMBLY: This is “the lollipop” portion I mentioned above and the parts are more easily visible.
BANO RIM: This is the foundational, round, wooden section of the pot assembly upon which all the other parts are fit. We have Boston model banjos whose rim is made of 3/16” of steel as well. Whether you have a Goodtime banjo or an upper line Deering model, the rim is a 3-ply violin maple rim made here at the factory. The wood that the rim is made of is important. If it is too stiff, it can, along with too tight a fit of the other parts, stifle the sound of the tonal (sound producing elements) of the banjo. Our new rim has [………………………………….]How far off the skin should the crown string tensioner be ?
Hi,
I’d like to add a peghead overlay to my goodtime banjo. Can you send me specs on that to follow when making this?
I have a banjo that I can not identify.
all I have is a number on the neck.
witch is 1658 or 7658.
it’s very old.
can any one help me?
My goodtime banjo has no position markers on the side of the neck. Do you have instructions how to correct this problem?
Leave a comment